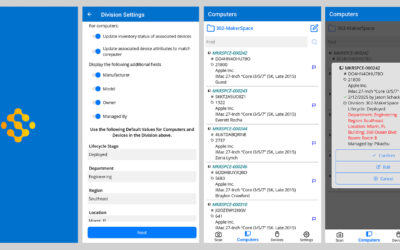
Easily Access Hardware Details with QR Labels
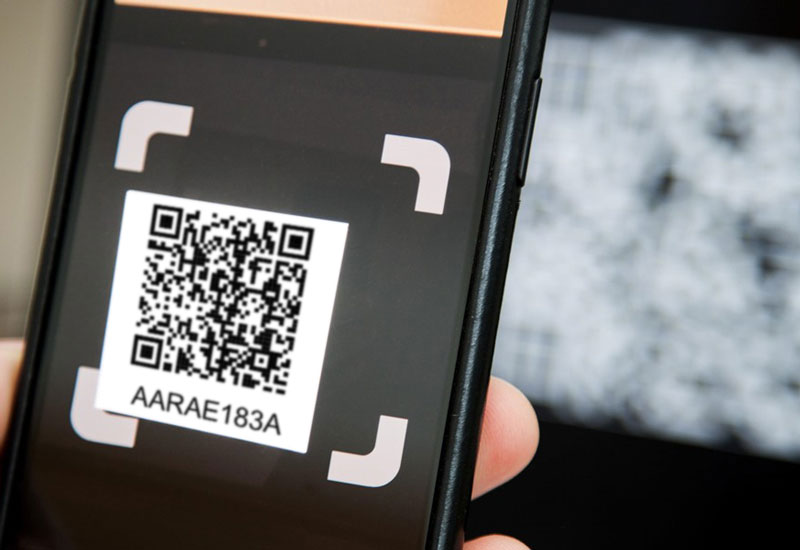
Sassafras AllSight and LabSight’s automated computer details have always made viewing and editing hardware configuration and asset data easy to access and edit… as long as you’re sitting at your desk. But if it were easy to create and apply QR Code stickers that link to each computer’s details page in the web interface, then support and help desk staff could instantly access this same information out in the field from a smart phone or tablet. Then they wouldn’t have to log into the machine to know the processor speed or RAM capacity, and they could even review or edit asset fields like Owner and Department, without having to log into the computer and search the OS.
With the release of version 7.7.1, we’ve got you covered. You can now easily print QR codes for your commuters or printers with a new script. This guide will explain all the details, and walk you through the process.
Avery Label Templates
If you’ve ever had to print labels of any kind before, you’ve probably heard of Avery. An office supply store staple (yeah, we went there), they have been around for many years, offering label templates for everything from address and DVD labels, to fabric transfers, signs, and everything in between. For QR codes, they have square and rectangle labels of various sizes.
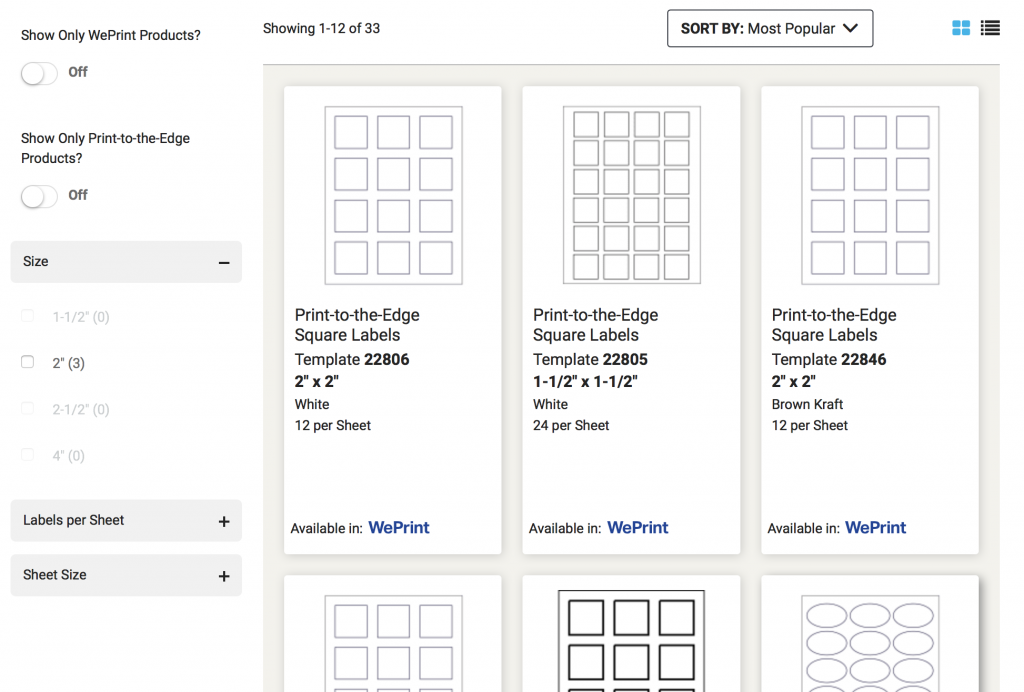
Before you can print QR labels with the instructions below, the first step is to purchase the templates you need, from a local office supply store, amazon, or directly from Avery here. The steps below will produce a PDF that you can print locally, but Avery also offers custom printing services if you don’t want to get your hands inky. To print the labels to a PDF, all you need is the template product number from the Avery website or product packaging (e.g. 22806).
Export Detail URLs Script
Once you know what template you’re printing to, the next step is to install the Export Detail URLs script in the Sassafras AllSight or LabSight web interface (a.k.a. KeyReporter), or in the KeyConfigure Admin Console. Then, we’ll run the script on a selection of computer records to export the URLs in the required format.
Install the Script
In KeyConfigure, you can install the script from the Manage Scripts window (File > Manage Scripts). Just look for the Export Detail URLs item in the list at the bottom, and drag it up to the top to install it on your KeyServer.
In the web interface, head to Settings > Scripts, and check the box next to Export Detail URLs. That’s it!
Run the Script
Select a group of computers in the Computers window in KeyConfigure and right-click, or choose the “more” dots in the top right corner of the Computers page in the web, and run the Export Detail URLs script. Confirm the Base URL, and then save the output file in a txt format. Next, we’ll upload the file at Avery.com and print our PDF(s).
Print QR Codes at Avery.com
First, head to: https://app.print.avery.com/
Search for a product name (e.g. 22806), click on “Templates”, and then click the “Start Designing” button.
Create an account, and once you’re in, select the blank design. Click the “more” dots on left:
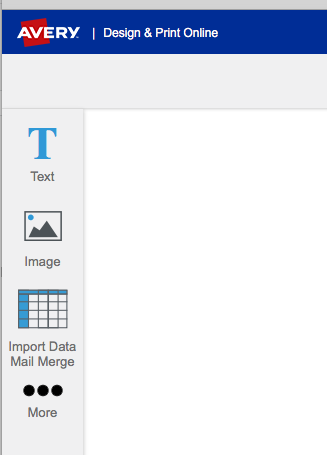
Choose QR and Barcodes from the left side column, and then the “Add Barcode or QR code” button near top:
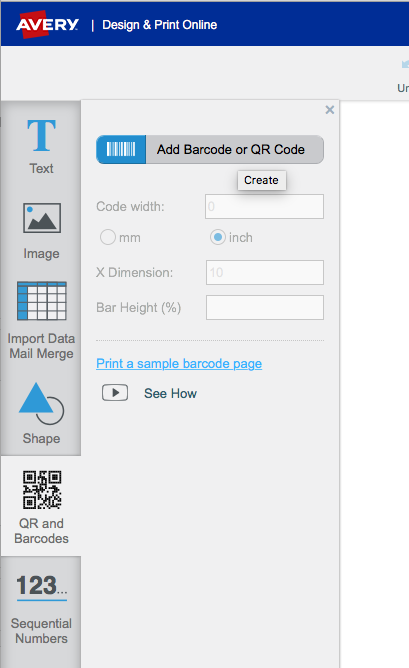
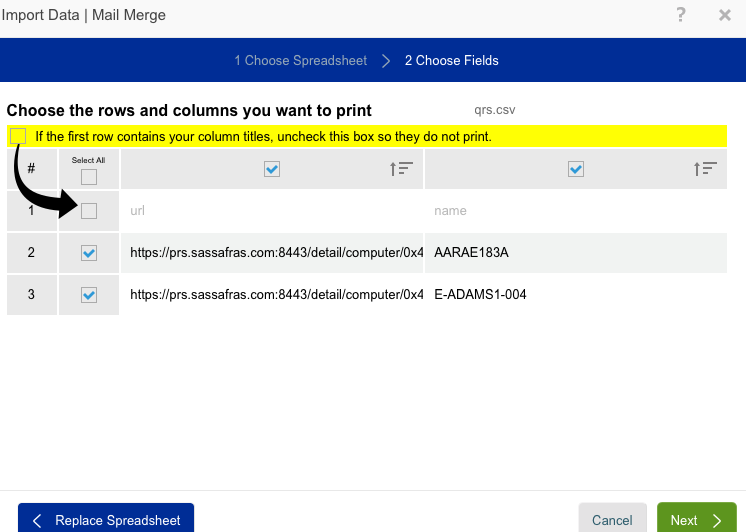
Browse to the file you exported from your Sassafras web interface, and you’ll be prompted to select which rows to encode:
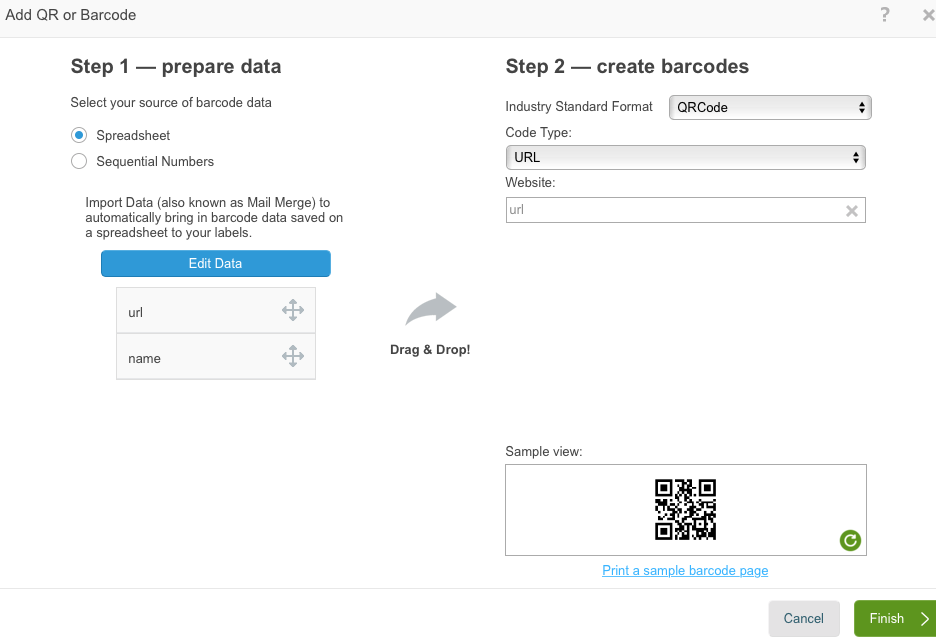
Select QR code in the Code Type drop-down, then drag the URL field into the address:
You can also add text and drop in other field(s) from the file, so you can more easily match each QR label to its respective computer (Name, Division, Model #, etc.); but if the computers are labeled sequentially and you work lab by lab, this step may be unnecessary:
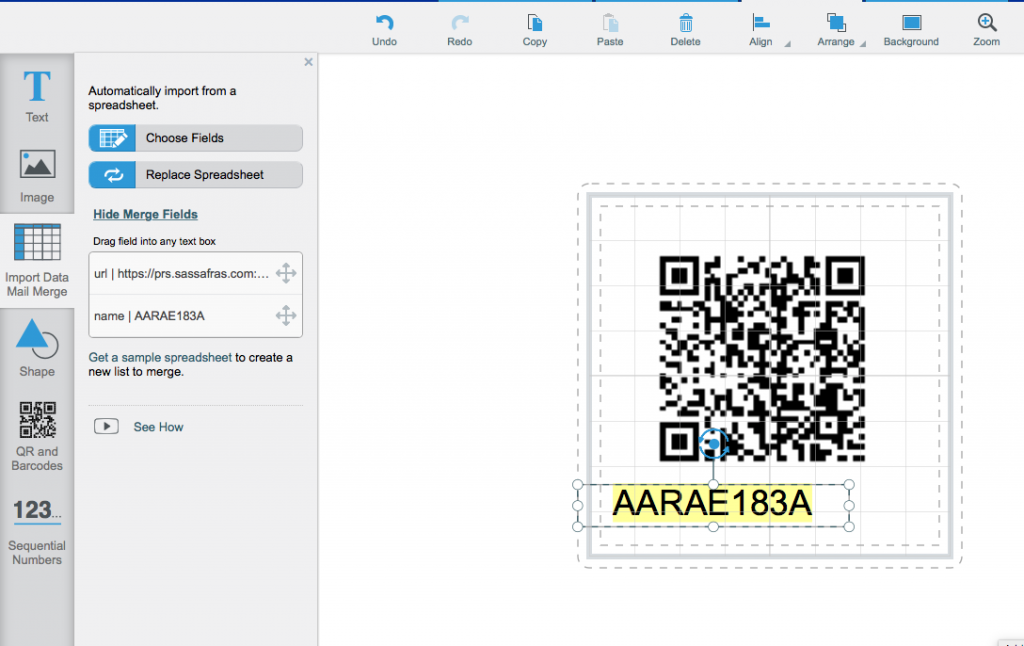
When you’re finished, you can print directly to your template or save the file as a PDF for later. Here’s a sample PDF, to give you an idea of what you’ll be working with.
Print, stick, and scan away!
Author: Jason Schackai
Site Search
Documentation Search
Categories

Social
Subscribe
| Thank you for Signing Up |


