Computer Details Window
The computer details window displays everything that is known about a particular computer. You can open the computer details window for a computer by double clicking the computer in the Computers Window. By customizing columns in the Computers window (right click in its window header area), you can display most of the information from the Detail window's Information and Audit panes in tabular form in the Computers window itself.
See also our Short Burst Training Video on this topic.
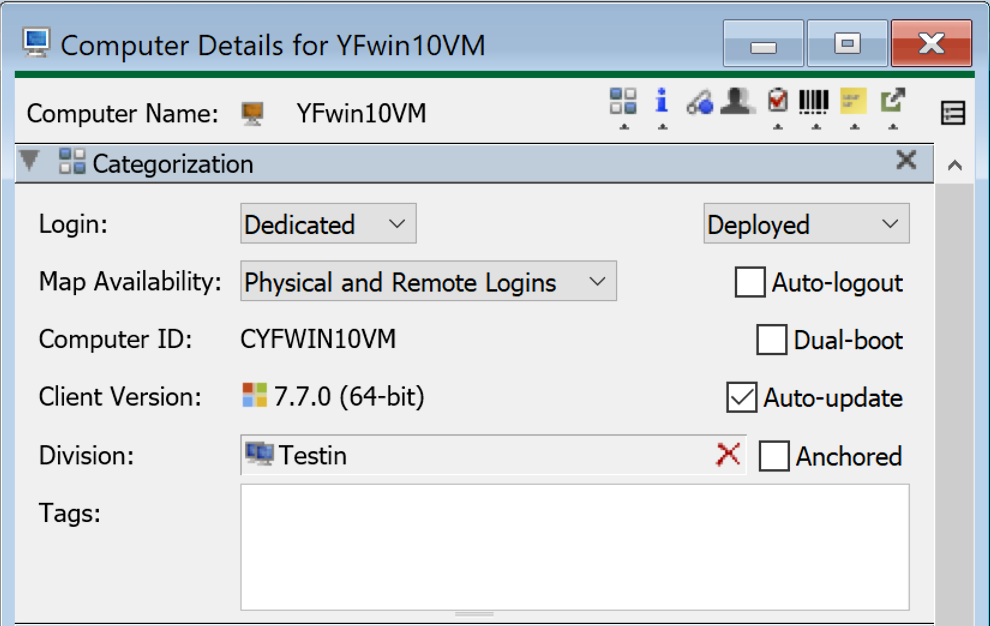
Categorization Pane
The Categorization pane shows the most basic information about how KeyServer identifies and treats this computer.
Information Pane
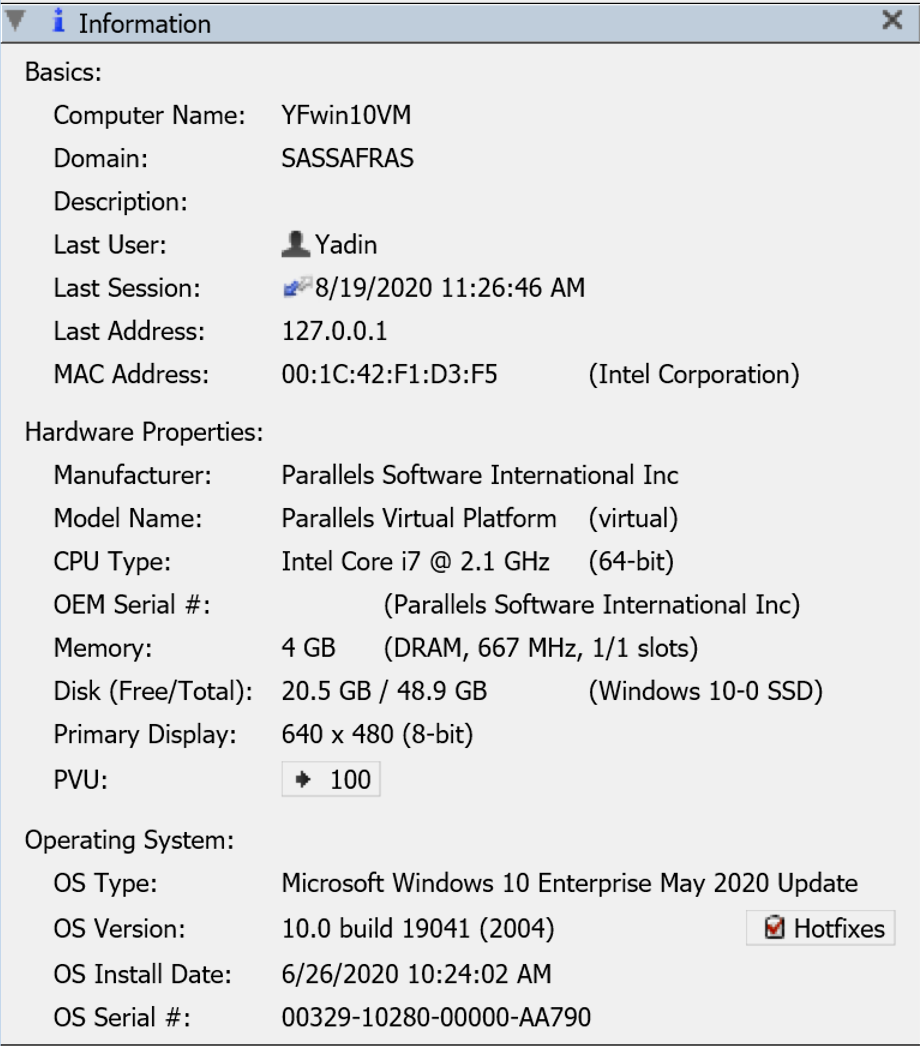
This pane shows hardware information about the computer, such as the Computer Name and the Last Address the computer used when connecting to KeyServer. If you hold the cursor over some of these properties, you may see additional information. For example, holding the cursor over the MAC address will reveal information about what type of interface it is (e.g. Gigabit Ethernet), and will show any additional MAC addresses which have been identified on the client.
Audit Pane
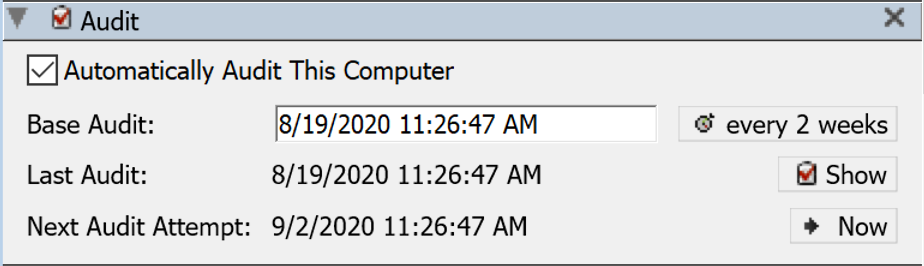
This pane shows information about software audits from the computer. You can configure the default Audit Schedule in the General Settings.
- The Automatically Audit This Computer checkbox controls whether the client will perform incremental audits according to the global audit interval, which is displayed to the right of Base Audit field.
- The Base Audit date is used by some reports to distinguish software which was present in the baseline audit from newly installed or uninstalled software. By default, this field is set to the time of the first audit on the computer. However, it can be changed manually in order to reset the base audit date.
- Next, the date and time of the Last Audit is displayed.
- To the right of this field is a button labeled Show, which will open a window showing all programs which were found on the computer (if an audit was performed).
- Next is a field showing when the next audit will be attempted.
- To the right is a button labeled Now, which will set the date field to ASAP and attempt to reach the computer and request an audit.
Policies Pane
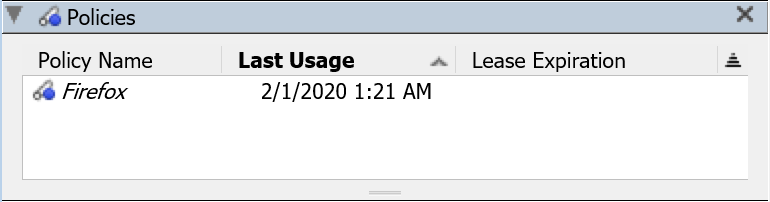
This pane contains a list of Manage Policies which this computer currently has a license for, or in some cases simply has used. Node and Lease Policies are listed in bold, and these policies currently have a license allocated to the computer. Policies which are not in bold are Site, Concurrent or Observe policies, and these have been used on the computer, but are not necessarily currently in use (and therefore not necessarily allocated). Policies which have not been used on the computer for over 60 days are listed in italics.
Since an administrator can add and delete computers from node lists for policies, this list may show policies which the computer has never actually used (in which case the Last Usage column will show the time at which the administrator manually added the computer to the node list).
Also note that policies can be dragged directly from the Policies window into this list in order to add the computer to the node list for the policy. Likewise, policies can be deleted from this list, deleting the computer from the node list for the policy. In the case of a Node or Lease Policy, deleting the policy from the list will also revoke it, allowing a different computer to then use that license if necessary.
Groups Pane
This pane contains a list of Groups which the computer belongs to as a member of the node list for the group. That is, the computer may be able to match a group based on location or filter definitions associated with the group, but that group won't be listed in the Groups pane of the computer details, because the computer isn't explicitly defined in the node list of the group.
Asset Pane
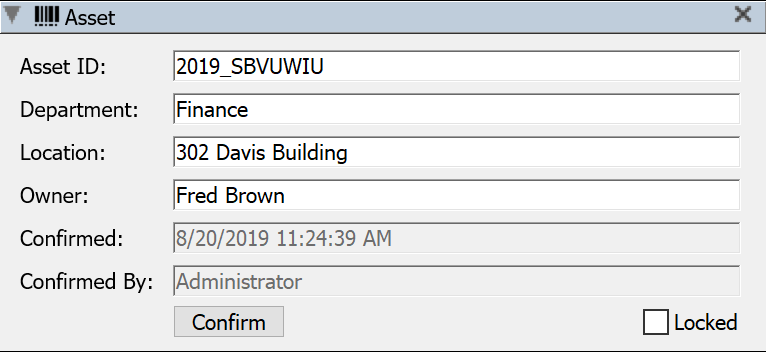
This pane allows you to view and populate preset fields for each computer. They are part of the internal KSComputers table which can be accessed through ksODBC. They can be automatically populated from the client, if KeyAccess finds values on the local computer in the relevant registry keys or plist entries.
![]() Windows KeyAccess looks in the registry key HKLM\SYSTEM\CurrentControlSet\Services\KeyAccess\Settings\options for string values assetID, assetLocation, assetOwner, and site (Department). If no value is found in the registry for assetID, Windows KeyAccess will then check WMI for Win32_SystemEnclosure -> SMBIOSAssetTag.
Windows KeyAccess looks in the registry key HKLM\SYSTEM\CurrentControlSet\Services\KeyAccess\Settings\options for string values assetID, assetLocation, assetOwner, and site (Department). If no value is found in the registry for assetID, Windows KeyAccess will then check WMI for Win32_SystemEnclosure -> SMBIOSAssetTag.
![]() Mac KeyAccess looks for the same property names in /Library/Preferences/com.sassafras.KeyAccess.plist
Mac KeyAccess looks for the same property names in /Library/Preferences/com.sassafras.KeyAccess.plist
One way to set these values on a Mac is using the command line:
sudo defaults write /Library/Preferences/com.sassafras.KeyAccess assetID my_idYou can do this prior to client install in a scripted action so the values are read when the client starts. You can also set them with the client config utility.
Populating these fields
Any of these registry/plist values could be written to programmatically by some client side scripting. There are also variables that can be used in the registry to refer to other values.
%foo%	GetEnvironmentVariable - i.e. any system environment variable can be populated by name like %windir% (not that you'd use that)
<path>	GetRegistryValue - i.e. point to the registry key who's value you want to use
Note that the Department (site) and other options mentioned here can also be set during the install of KeyAccess using the PROP_SITE Deployment option.
The Confirmed and Confirmed By fields will not be populated automatically. An Admin can click the Confirmed button to populate these fields serving to show when and by who the computer details were verified. Note that once populated, they will not be cleared if the client subsequently sends up new data.
You can also manually enter values in KeyConfigure in the Asset ID, Location, and Owner fields. If you enter a value in any of these fields and save the change, the Confirmed field will automatically be filled in with the current date and time, and the Confirmed By field will be filled in with the KeyServer account name which you are logged into KeyConfigure with. As long as no clients have registry/plist entries for these values, the manually entered data will remain as is. However, if clients have registry entries, the values will get overwritten with the values from the client when it next logs in. So if you are trying to force a manual change, you should check the Locked checkbox. This will prevent any automatic changes originating from the client in all fields in the Asset and Custom Columns panes. This is also handy to ensure no accidental changes are made to these fields as you must unlock before edit.
Purchase Pane
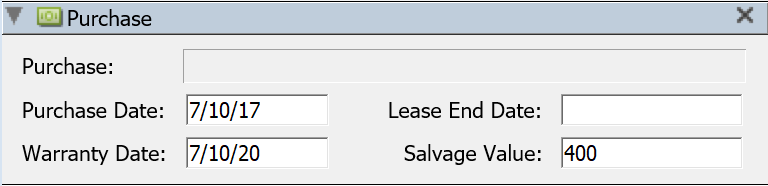
This pane shows data about the purchase of this computer. You can either enter relevant dates (and Salvage Value) directly in this computer record, or you can link this computer to a purchase record. To make this link, simply drag the hardware purchase from the Purchases Window into the Purchase filed of this pane. There are some KeyReporter Widgets that report on Residual Value and Salvage value that use this data.
Install Codes
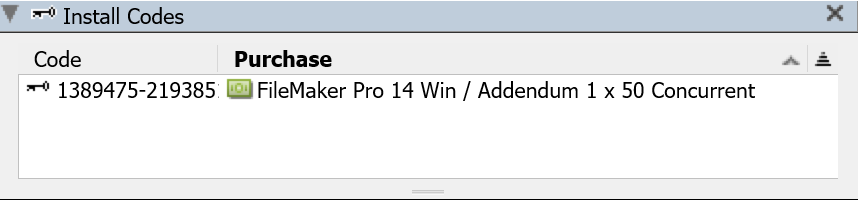
New in 7.7.0.4, this pane displays any install codes that have been associated with the computer in the Install Codes Pane of the Purchase Details window. Codes can not be added here, but they can be deleted to free the code in the Purchase for reallocation.
Custom Columns Pane
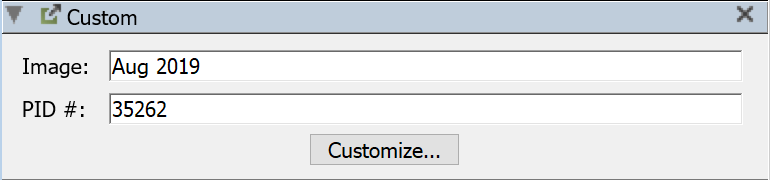
This pane shows any custom columns which have been defined. Once you define custom fields you can populate the values in computer records. These can also be populated from the client based on special registry values. For more information on defining and using custom columns, see the Custom Columns documentation. Note the Locked option in the Asset Pane will prevent automatic or accidental change to these fields.
Notes Pane
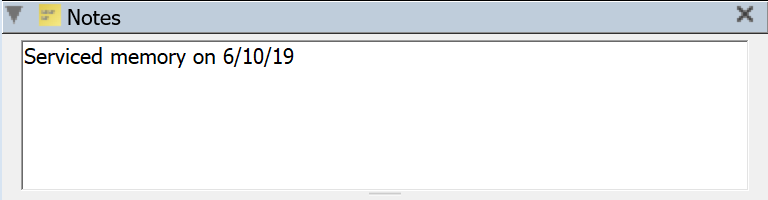
This pane is a free-form text field. You can use it for any information you want and could be useful for noting system history.