Web UI Settings Page
The Settings page in the Web UI has settings for both the Web UI and overall server functionality (replicating many settings found in KeyConfigure). It also contains an Information page that lists important details of your server, including the license Serial and Seat count, server Version, Host, and Platform. This is useful information when working with support. The i button at the bottom of the list is used to toggle the verbose information for the various settings on many sub pages and is on by default.
Note that there are Web Service Settings in KeyConfigure under the Config menu as well. These are the same as those in the Network section of this page. Printer settings and many other items are also found in KeyConfigure.
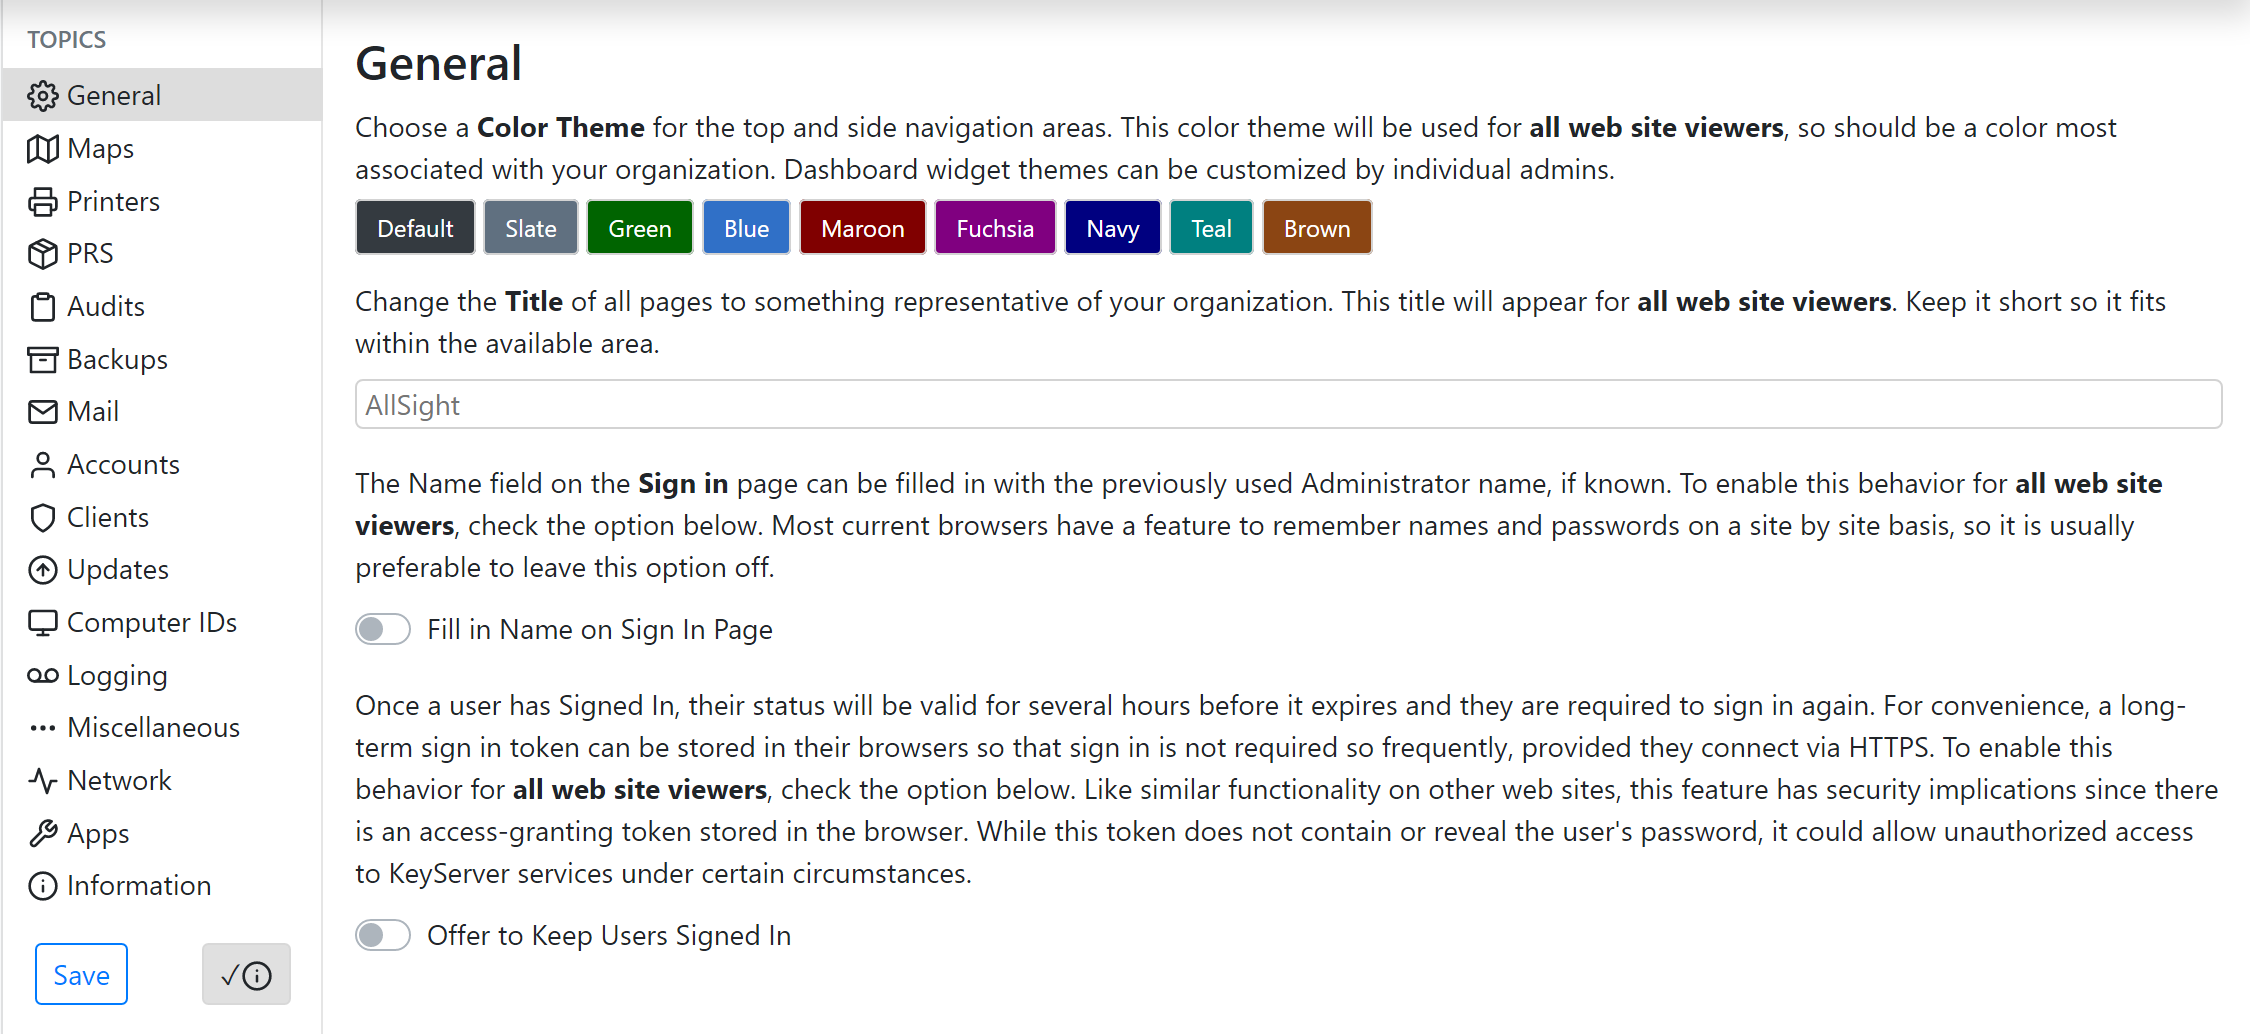

Here you can set the Color Theme for the Web UI from a selection of choices, which changes the main header bar. Colors of individual Widgets on the Dashboard are configured per widget and not affected by this setting.
You can also rename the Web UI Title and its browser tabs to anything you like for site branding. This name appears in the upper left by the Sassafras logo. Remember to click Save to the left to apply your name choice. Browser caching can create refresh issues, so keep that in mind if you're not seeing your change apply as expected.
There are also two options for controlling the login window behavior and retention of login sessions.

The first option on this pane is for setting the Primary Map for the Maps section as well as the functions mentioned in the setting option. This allows you to override the Default Map Tab.
Next, you can drag and drop a PNG format Logo for use on your Map Floorplans. This will appear in the Models library when editing a Floorplan.
By default, we use Open Street Maps for the geographic display on Map Tabs, but you can use Google Maps if you like. Simply obtain a Google Maps API Key (costs may apply) and insert it in this field. Alternately, if you choose to use GIS software to create a custom Tile Layer for Open Street Maps, you can point to your tile server to customize your Maps display.

If you use PaperCut in your environment, you can add configuration to pull devices (Printers and virtual Queues) from that service into KeyServer. The fields are well commented, and this is also configurable in KeyConfigure in General Settings. Note that currently only a single PaperCut server is supported, but you may use IPP in your Printer Details to query individual printers.
 Compatibility Notice: - PaperCut version 18.3 and higher are fully supported with the settings documented here. Prior to 18.3 we are unable to automatically update the printer status as a key identifier is missing from the printer export. If you manually populate this value in each printer record, then status can be updated. We do not support any version prior to 17 as the needed API does not exist.
Click here for instructions for manually setting IDs to fetch status updates.
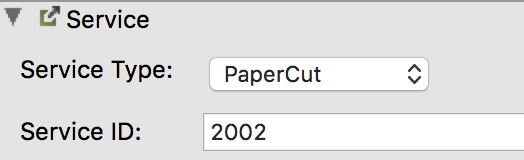
In order for KeyServer to update the Status of a Printer we need the Service ID of that device. Prior to PaperCut 18.3 it is not possible to retrieve that programmatically, so it would need to be set individually per device. For each printer imported from PaperCut, you will need to do the following:


Click here for details on required PaperCut permissions.
The account used for pulling printers from PaperCut needs to have certain permissions, but does not need to be a full admin. Configure the account you wish to use in PaperCut under Options -> Admin Rights -> Edit the account in question.


Ensure the account has these permissions:
![]() Access Dashboard
Access Dashboard
![]() Access printers section
Access printers section
![]() Access devices and site sections
Access devices and site sections
![]() Access reports section
Access reports section
![]() Access Central Reports
Access Central Reports
Click here to see instructions on how to find the token.
Log in to your PaperCut server and click on Options
Click in the upper right on the Actions button and choose Config Editor (advanced) from the drop down menu
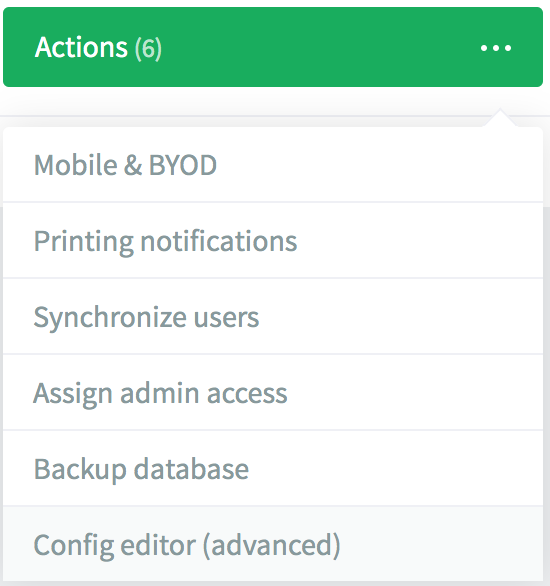
In the search field enter auth.webservices.auth-token and click the green arrow.

If there is no Value for the auth-token, type one in (make sure it's secure) and click Update. Copy the Value for the token into the configuration field in KeyServer and Save the settings.

Note that you can only set the update frequency in General Settings in KeyConfigure. By default status will be updated every 5 minutes.
Click here for notes on PaperCut Security
There are a couple security items worth noting so they are not overlooked. These are the Allowed admin IP addresses and the auth.webservices.allowed-addresses options.
- Under an admin login, go to Options -> Advanced and scroll down to the Security section. In the field for Allowed admin IP addresses ensure you have the IP address of the KeyServer in addition to whatever other IPs may be needed in your environment normally.

- Under Options -> Actions -> Config Editor search for webservices.
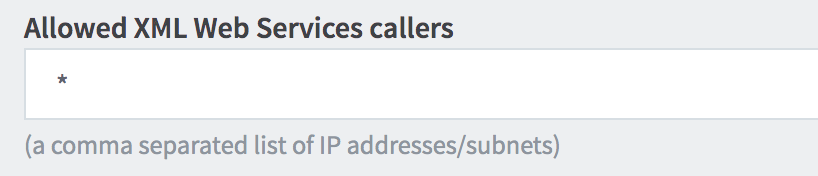
In the auth.webservices.allowed-addresses field ensure the IP of the Keyserver is added if it's not set to the default unrestricted (*) value.

You can also see this under Options -> Advanced -> Security in the Allowed XML Web Services field:

These settings are for managing the communication with the Sassafras Product Recognition Service. You can control the time of day these checks occur, perform an immediate contact (handy when trying to get new inventory recognized ASAP, and customize other settings.
See also PRS Settings

This section allows customization of client and product audits. Client audit frequency is defaulted to 2 weeks, but many sites upon consideration of traffic impact set this to daily for expedient updates of client inventory changes. Once a PRS check (see above) completes relative to a client audit, a Product audit normalizes install counts into our standard definitions and families. You can use the Now button to do this on demand when expediting a new image audit for example.
See also Audit Settings

While infrequently used in an age when server infrastructure is virtual and means you have full VSS level backups, we still provide a traditional file level backup of all local database files.
See also Backups

An important part of server service administration is alerting, and in order for scheduled report emails to be sent we need mail settings. Use this section to define when and to whom system alerts and dail status emails are sent, and how email should be relayed.
See also E-Mail Settings

This section allows configuration of authentication against a directory system or other service for KeyConfigure and Web UI logins. You can choose from a wide selection of Authentication Modules depending on the server platform you are running on. For example, Active Directory is only available when running the server on Windows. Each module has unique settings, but some options are global.
You can decide if Guest browsing should be enabled or if authentication is required to access the Web UI. The External Groups section allows quick and simple mapping of various directory system groups to various default roles. Options include:
- Manager Account - Full administrator rights
- Support Account - Lower permissions appropriate for middle tier IT staff
- Staff Account - Limited permissions appropriate for technical employees outside of IT
- Community Account - Guest level access
- Create Accounts as Needed - This will make accounts in the server and grant them any roles based on external group reference. Otherwise they can be manually assigned roles in KeyConfigure after they get created on first login attempt (which will be denied).
- Determine Access on Demand - This will resolve any group membership against roles configured in KeyConfigure and grant access without making a local account in the server.
- Disallow Login - Do not allow the account to log in
You can then choose how to handle Unknown External Logins. This means any account for which there is no simple preset mapping in these options, and no manually created account in Admin Access. Generally you would either Disallow these attempts, or map them to Community so it's the same as if they were a Guest. You can however set this to Create as needed or Determine on demand and use specific Roles pointed to designated external groups to create more complex login assignments.
See also Admin Authentication and Auth Modules

The main use of client authentication is to enable automatic allocation of computers into Divisions based on directory organization (e.g. replicate OU mapping in AD). Note we do not replicate the entire AD, individual changes are made when a client contacts the server as relates to the division that computer is in. While it can be used to force authentication to the server to get a client session, that is exceedingly rare.
See also Client Authentication

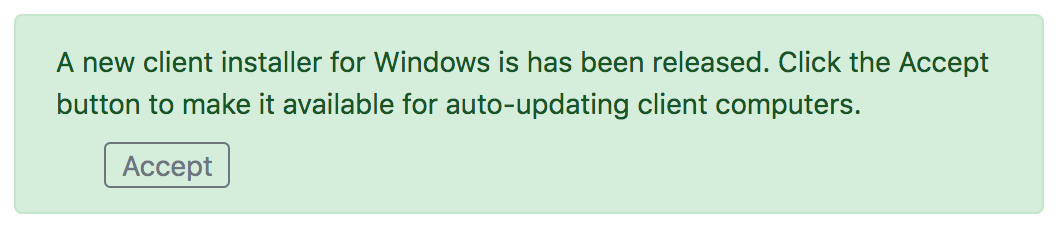
This page allows you to very easily fetch the latest client installers from Sassafras and enable them for client self updates. It will show a green dot in the navigation when updates are available, and you can click Apply to fetch them and activate the update settings.
Ensure you click Save in the main settings list to actually save the configuration changes.
See also Client Self Updates

Determining how to identify computers is a critical part of initial setup. In recent time Computer Name is the most popular choice as it allows for easily swapping out systems in lab spaces. If names are the same, new computer replace old computer in place in the software. However, you lose the ability to have full lifecycle tracking that way. Serial number can be a good alternative for unique tracking, but some times obscure hardware does not provide the serial very well. MAC address was the old standard, but in recent years external network interfaces has made this problematic as that identifier is now unreliable to be present. The decision of what you use should be well considered before initial client deployment. Note there are further considerations if you have "thin client" services. Changing these on an established server can have notable considerations and you are encouraged to proceed with caution and consult with Sassafras Support for assistance.
See also Computer ID Types

In the event of troubleshooting, this section is used to elevate logging levels to assit with diagnostics. The logs are written to the diagnostic.log file in the KeyServer Data Folder on the server. Note that no granular item can record at a higher level than the general setting.
See also Log File Management

See also the Privacy, Idle, and Misc sections of General Settings

This section allows you to customize the various settings for the Sassafras Web UI Service (formerly known as KeyReporter).
See also Web Service Settings

This is used for loading in custom modules developed by Sassafras. Currently there are the following add in modules:
See our release blog for more details. You can simply download these and drag the zip archive into the Extras screen to load them on the server.

See various information about your server including version, license data, and server platform.
Account Settings
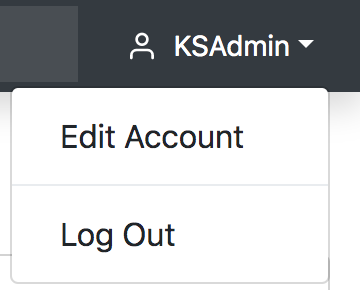
If you click your user name in the upper right of the Header Bar and choose Edit Account, you will find a couple account options. Note the Edit Account option only shows if you are using an account of sufficient privilege, but NOT the root Administrator.
You can change your Email address, which will find an associated Gravatar icon for the Account menu. This is purely cosmetic.
If you are logged in by https, you will be able to change your Password, assuming this is an internal account with sufficient rights (passwords from external authentication sources like AD can not be changed through our software).
Notes can be used to store anything you like.
Show Basic User Interface will cause the Side Bar to not show expanding menu items, such as various Dashboards when that header item is chosen and the report builder items. Note that having full admin rights overrides this having an effect.