Printer Details Window
The printer details window displays everything that is known about a particular printer. You can open the printer details window for a printer by double clicking the printer in the Printers Window. By customizing columns in the Printers window (right click in its window header area), you can display most of the information from the Detail window's Information and Audit panes in tabular form in the Printers window itself. See the Printers Window Documentation for more general information about printers.

Printer Details Window
Categorization Pane
The Categorization pane shows the most basic information about how KeyServer identifies and treats this printer.
At the top of the pane is the Status menu, which defaults to OK and is of minimal use manually, although it can be set if desired (Offline may be useful). This menu item is most interesting when paired with PaperCut as a print management solution in your environment, which can be configured in KeyReporter as a source for live status. The Status will change the icon color of the Printer when placed on a Map. Ok will show green, Offline will show gray, and all others will show yellow. The Status will also show in the pop up information for the printer on a Map.
On the top right there is a checkbox for Enabled. This is pulled from PaperCut only if using that system, and has no impact on KeyServer at all.
The Lifecycle Stage menu is used for Lifecycle Management and the value can be changed as appropriate. The default value is "Deployed", with a variety of other stages that cover lifecycle from Ordered to Disposed. Only Deployed printers will be displayed in Availability Maps in KeyReporter. Otherwise, these have no inherent function to KeyServer, and are intended to help you manage your assets by running reports that include this status.
Next is Division, which will be familiar from the Computer Details Window. You can drag a division from Computers to this field in the Printer Details, or drag a printer from the Printers Window to the Division in the Computers Window. Either direction, you will associate the printer with a Division allowing for easy placement on Maps.
In a similar manner, the Computer field allows association with a given computer. This is useful when a printer is designated to a specific machine as opposed to a shared office or lab environment. Again, just drag a computer from the Computers Window into this field and it will make the link.
The Description field can be populated with whatever information you like for this device that may not be covered by the other fields in the Details. This will also show up on the pop up information for the printer when clicked on a Map.
Finally, a Tags field allows configuration of Tags for this Computer. For more, read the Tags documentation.
Information Pane
This pane shows hardware information about the printer, such as the Manufacturer and Model Name. You can populate these fields as desired for your record keeping and reporting on hardware assets and lifecycle management. The Cost Per Page field is useful for chargeback environments. Page Rating, Recent PPM, and Average Wait are all intended to show expected printer speed and actual performance information (pages per minute). Several of these fields will populate from information in PaperCut if you have that system and enable it in KeyReporter, otherwise you are free to use them as you see fit.
If you populate the IP Address, there will be a link in the Printer record in KeyReporter that will open a new window to the web interface of the printer for convenience.
The Model Name and Cost Per Page fields will show on the pop up information when you click the printer on a Map.
Service Pane
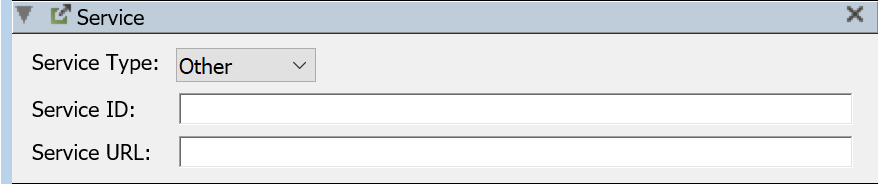
The options in this pane are designed to offer some options for automatic updating of information and Printer Status. The exact fields we try to update based on service type are documented in Tables.
- Other - Placeholder for no active service.
- Attached - Currently does nothing special, but could be useful to denote a printer attached to a computer as opposed to a print server, or an entirely offline office printer.
- IPP - If this is set, and an IP Address is specified in the Information Pane, KeyServer will query the device over IPP and attempt to update the various fields on the Update schedule in General Settings -> Printers.
- PaperCut - If your site uses the PaperCut print management solution, you can configure that in General Settings -> Printers (or in Settings -> Printers in KeyReporter)and all printers that auto populate in KeyServer as a result will list their Service as PaperCut, and the service URL of the server. Note that changing service URL in the Printer Details should not be done at this time, but we are exploring the ability to use this for multiple PaperCut instances in an environment in the future (individual authentication would be needed).
Asset Pane
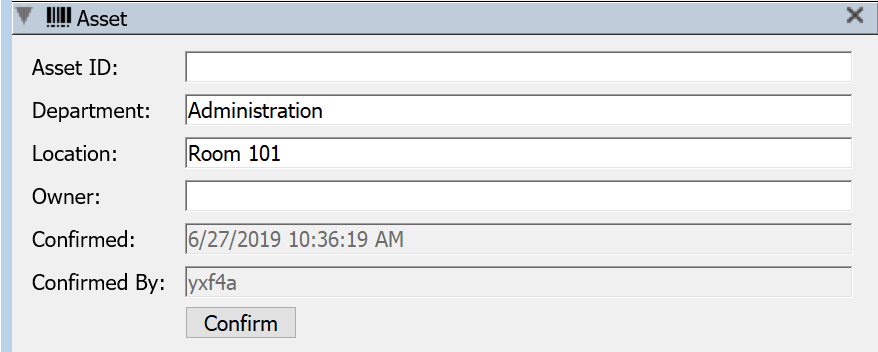
This pane allows you to view and configure custom fields for each Printer. They are part of the internal KSPrinters table which can be accessed through ksODBC. Some will auto populate from PaperCut if using that system.
Asset ID is arbitrary and can be used for your internal inventory tracking purposes.
Department will pull from Location in Papercut, or can be set manually
Location will pull from Print Server in Papercut, or can be set manually
Owner will pull from email in Papercut, or can be set manually
Confirmed and Confirmed By are used for internal tracking and inventory purposes. When an admin in KeyConfigure clicks the Confirm button, this information will be stamped. You can use this to note when inventory was checked for example, and review this via Reports.
Purchase Pane
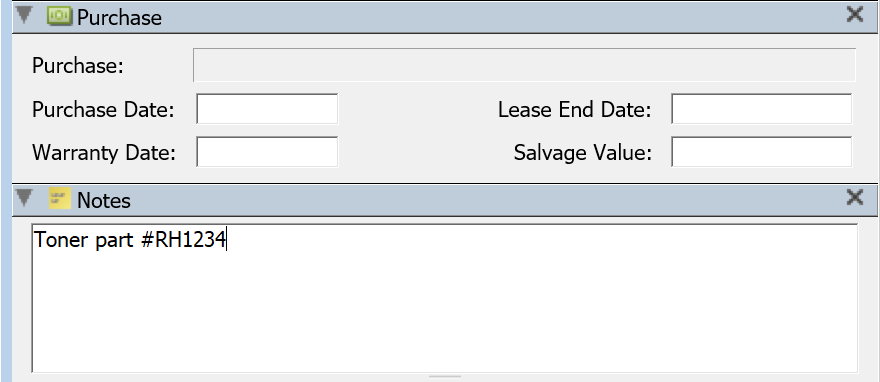
This pane shows data about the purchase of this printer. You can either enter relevant information directly in this computer record, or you can link this printer to a purchase record. Do this by drag and drop of a Purchase record from the Purchases Window into the Purchase field in this pane. There are some KeyReporter Widgets that report on Residual Value and Salvage value that use this data.
The Notes pane contains a single item, which is a free-form text field. You can use it for any information you want. It can be seen here in the KeyConfigure interface, and can also be used in reports.